The ChipsAway Repair Process
Whether you visit one of our drop-in Car Care Centres or have one of our mobile technicians come to a convenient location to you, our specialists follow a rigourous 15 step process.
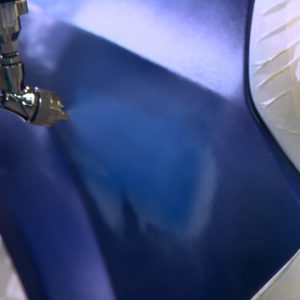
We’re frequently asked how a typical ChipsAway paint repair is completed, so we’ve put together a handy photo guide on how we restore car bodywork back to it’s former glory!
1. So you’ve dinged your car…
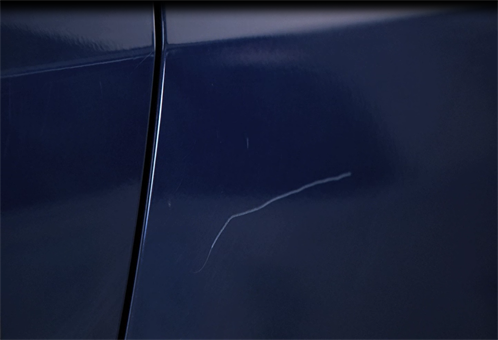
…and you’ve called out one of our professional repair specialists to come and repair the damage, here are the processes that enable us to restore car paintwork.
2. Obtain Colour Code
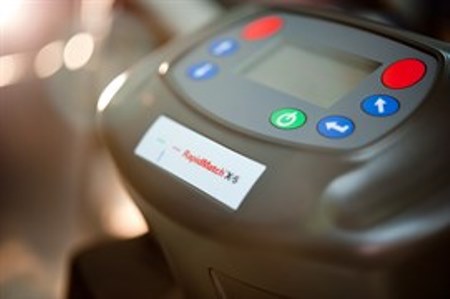
Each vehicle has a unique colour code which relates to a specific colour formula and allows us to select the exact makeup of your cars paint in order to find a perfect match, using a Spectrophotometer or Colour Chips, we will identify the specific body colour of your vehicle.
3. Identify Colour Formula and Mix Paint
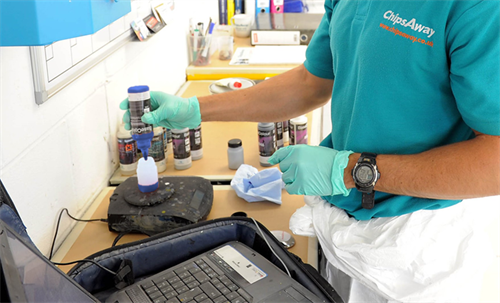
Using our specialist software, we will then remotely identify the makeup of the paint on your vehicle, providing a gram-by-gram breakdown of how to replicate the colour using our range of tints.
4. Clean the damaged area
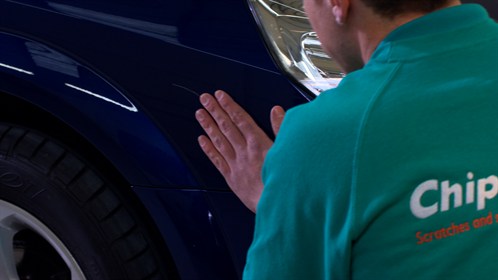
The whole damaged area is cleaned and dried to ensure all potential contamination substances, such as residue, dirt, waxes and silicones, are removed to not interfere with the repair process.
5. Mask the vehicle
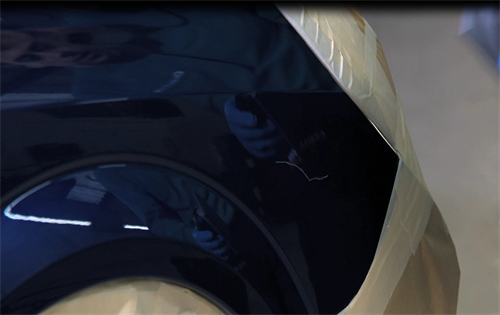
We then carefully detail masking tape around all neighbouring panels as well as badges, mouldings and lights to protect them from any potential overspray.
6. Remove paint
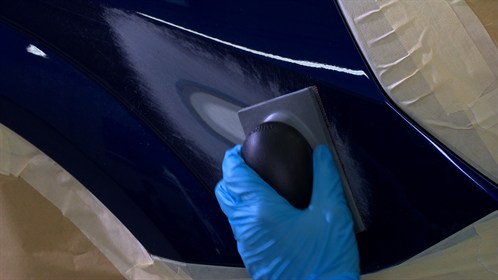
The next step is to sand back the damaged area so the layers of paint and primer are visible; this allows us to rebuild the area layer by layer for a quality finish.
7. Fill & Prime
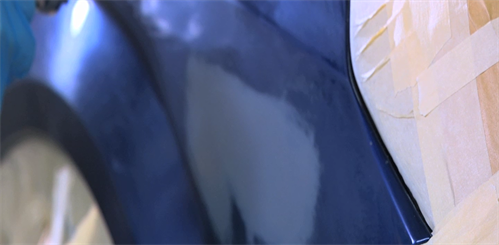
The damaged area is filled and then primed using a grey base, like the factory would have applied. This is cured using an Infra-Red lamp and sanded back before colour is applied.
8. Paint
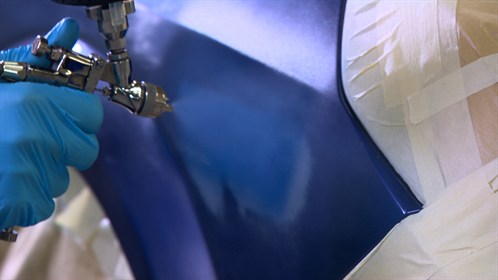
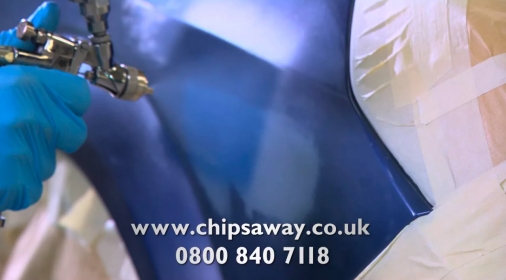
Once primed, we’re ready to apply the paint mixed earlier using a compressor and spray gun. The body colour is applied in thin layers, with each paint layer heated inbetween to dry.
9. Cure

The whole repaired is then cured over a minimum of 45 minutes using Infra-Red lamps.
10. Denibbing
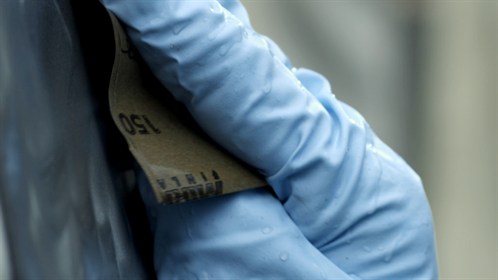
Once the repair has been cured and allowed to cool down for 15 minutes, then it can be denibbed as using extremely fine grain paper to match the required finish of the surrounding paintwork.
11. Polish
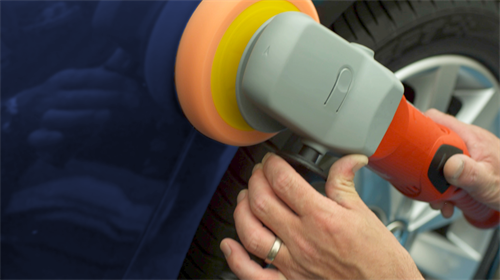
Polish is then applied to the finished repair to buff the previously damaged panel and restore your car’s paintwork back to its former glory!
12. Ta-Dah!
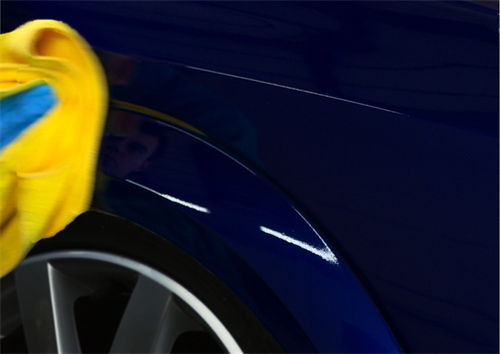
After all the masking is removed and our equipment put away, your repair is complete with our Lifetime Guarantee.
We hope that this helps you better understand the ins and outs of how we repair car paintwork and explain how we achieve quality with our repairs.
If you have experienced a scratch or scuff to your car’s bodywork, please complete our online form to find your local specialist for a free no obligation estimate.

