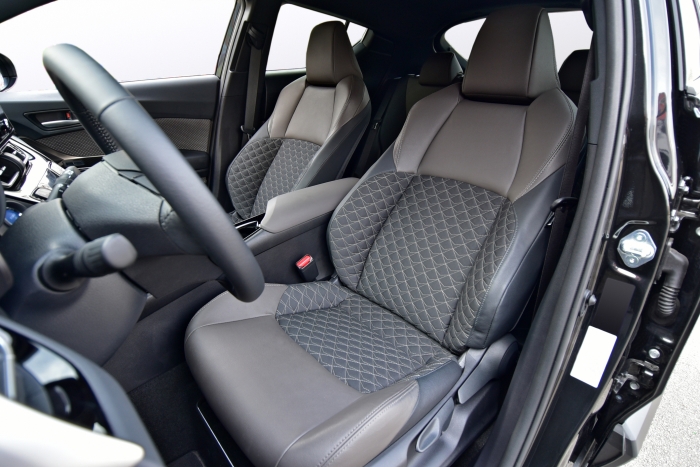
How to Restore Your Car Leather
If your leather car seats are starting to look a bit worse for wear, we have some top tips to help you restore your car’s leather back to perfection. Chemicals are often used to protect your automotive leather during manufacturing, however, they can still become damaged over time. There are many factors that can lead to car seat damage, including direct sunlight, food or drink spillages, excessive heat, wetting, and drying. Damaged leather can not only spoil the look of your seats but may also decrease the value of your car.

Car Leather Restoration – Safety First
Although working on your car is a fun, rewarding task. It can also have some dangers. There are certain things you will need before you begin.
- Gloves – preferably Nitrile gloves, these are used to repel irritants and possible chemicals that can be found in the seat cushions.
- Safety glasses – protect your eyes and get yourself a pair of safety glasses.
- Appropriate clothing – we would suggest wearing a long sleeve shirt or jacket to protect your arms.
It’s a good idea to get everything prepared and organised before you begin the process. Having your tools ready to hand will save you lots of time. Make sure you have a flat workspace, a driveway, or a garage floor would work well. Always check where you are working isn’t breaking any laws with your local council.
Restoring Car Leather Equipment
Here is a list of everything you may need to restore your car leather:
- Buckets
- Hoover
- Sponge
- Screwdriver
- Hairdryer
- Socket wrench set
- Scrubbing brush
- Leather cleaner and conditioner
How to Recondition Leather Car Seats
- Using your socket wrench, you need to detach the base of the seat from the floor. Also, detach any electrical components that be connected. Once you have removed the seats, rest them on a bench or work surface.
- It’s a good idea to get rid of any crumbs, dirt, and debris that may be trapped under the seats, by vacuuming. Be sure to get right in the seat crevices, as you don’t want any bits of debris mixing with the leather reconditioner.
- Wipe down the seats using a damp cloth or towel and allow them to dry. Using a clean cloth, apply a little amount of the leather reconditioner and apply it to a section of the leather to test it out. If the reconditioner reacts in any way, stop the process. However, if there is no negative impact, proceed.
- Apply larger amounts of the reconditioner to your cloth and spread all over the surface of the seats. Take care to avoid creases and crevices. To get into the crevices, you first need to dilute the reconditioner with water.
- Once all of the reconditioner has been applied, allow it to dry naturally. Once dry, reattach your seats and you will be left with beautifully shiny leather seats.
Top Tips
- If your leather seats have begun to tear or you notice cracks, instead of treating them, it’s best to replace them entirely.
- If treated incorrectly, leather can become brittle over long periods of time. Try and keep the leather out of the sunlight during the summer months. You can use a sunshade to block direct sunlight.
- If you protect and take care of your car leather, you may only need to restore the leather once or twice the entire time you own the vehicle. However, if you don’t look after the interior and give the leather no protection from factors such as direct sunlight, you may need to restore them as often as every few years.


