Car Scratch Remover Tips: How to Fix Car Paint Scratches
Car paint scratches are common and annoying, but a careful repair job can make the scratches invisible. There is a range of DIY car scratch remover kits on the market, but can they really get rid of paint scratches?

To help you, we’ve looked at how and when to use car scratch removers, and when it’s better to get a professional repair. Plus we show you how to use repair kits and our top tips for the best results.
How deep is the scratch?
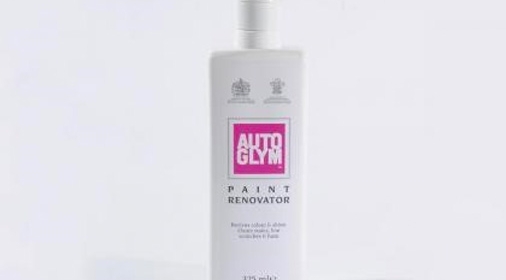
This is the big question to ask yourself before you use scratch removers. Most modern cars have a clearcoat over the top of the paint to seal and protect it. Light scratches will just be in the clearcoat and top paint layer and these can sometimes be fixed with mild scratch removers like T-Cut and Autoglym.
Deeper scratches that cut into the paint itself need more careful repair that involves reapplying paint. You can buy scratch remover paint kits to do this, but it probably won’t have the same finish as a professional repair.
And if the scratch is deep enough to reveal the metal beneath the paint then you will definitely need to take it to a professional.
Can I match the paint colour?
If you’re going to touch up your car’s paint, this should be your first question. There are a huge range of paint colours, tones and finishes used on cars, and the first step of any DIY scratch repair is to match the paint colour.
You can find the factory paint code on a metal panel inside the car which should tell you the exact tone. Here’s our post on how to find your car’s colour code.
Once you have the code you can look for a scratch remover that matches it. However, be aware that even if the colour code matches, the finish may differ slightly.
If you can’t find a repair kit in the right shade, it’s probably best to call a professional.
How to use car scratch remover
If you just want to remove light and shallow scratches with no repainting, read our guide to using T-Cut here.
If you feel brave enough, below is a step-by-step guide to removing deeper scratches that need paint repair.
Note: Take a cautious approach when using DIY scratch remover liquids, kits and pens. They can achieve good results on light-to-medium damage but using them on deeper scratches may worsen the damage. If the scratch runs deep or reveals the metal below the paint, always take the car to a professional repairer. If you don’t know how deep the scratch is, have a look at our Deep Scratch blog.
Step 1: Clean the Area
Clean the area around the scratch thoroughly before you start. Any dirt left behind can be rubbed into the paint, making the damage worse. Wash it down with soap and water and remove wax and oils with a solvent like white spirit. Dry the well and mask off any nearby trim, lights or plastic materials.
Step 2: Apply the Primer
Carefully apply the primer or paint to the scratch. Aim to get as much liquid as possible into the groove, leaving as little overlap onto the surrounding area as possible. If the scratch is deep, don’t be tempted to apply a thick layer – keep it thin so it can dry evenly. If needed, apply a second coat around an hour later – check the specific product instructions for the time between coats.
Step 3: Allow Paint to Dry
Allow the paint to dry and harden at least overnight. Wet a piece of very fine 1200 grit wet and dry sandpaper and sand down the area. Keep rinsing the sandpaper to avoid scratching the paintwork again. Aim to get the paintwork in the scratch level with the surrounding surface, leaving no raised areas.
Tip: don’t worry if the painted area loses its shine during sanding. This is meant to happen.
Step 4: Buff and Polish
Clean the area well and dry. Buff the area with a rubbing compound or cutting polish to bring the shine back and blend the repainted area with the surrounding bodywork. Wipe off any excess.
Step 5: Apply Protective Lacquer
Protect the repair. Many scratch remover kits come with a clear protective lacquer which you need to apply at the end. This will seal the paintwork and replace the clear coat protection you’ve removed. Apply a thin coat of lacquer, allow to dry and apply a second coat.
These scratch remover tips should help you get light scratches out of your car. The two most important things you need are patience and a steady hand.
When not to use a scratch remover
If you have deep or multiple scratches, or you don’t feel confident attempting your own repairs, it’s better to avoid using DIY kits. They can be fiddly, expensive, and difficult to get a good finish.
For professional car scratch repair, call our ChipsAway specialists, or complete our online form for your free estimate! Our mobile repairers can come to you to repair car scratches and scuffs. We use colour-matching technology to match the paint tone and finish perfectly. Get a free, no-obligation quote online today.


